So your Roscoe Knee scooter’s axle has bent, and now it needs to be replaced, but how does it all go together? Well, no worries let the experts walk you through how to install your new axle. In our previous blog How to remove the rear axle on a Roscoe Knee Scooter, we went over how to remove the rear axle and bearings. So now that we are all at the same place let’s start by installing our new axle bearings.
Installing Rear axle bearings on Roscoe Knee Scooter
Your new Roscoe knee scooter axle came with two new knee scooter wheel bearings. The first step in installing your new axle is obviously getting the new bearings in the frame. For this step, you will need a hammer to help seat the bearings. Start by laying the scooter on its side; either side will do. Place one of the bearings in the rear axle tube and use the hammer to tap it into the frame until the bearing is flush with the frame of the scooter. Now that that side is done flip the scooter over, so the other side is now facing up. Into the frame insert the bearing spacer, the long silver tube, followed by the second bearing making sure it is flush with the frame.
Installing Your New Axle
Now that we have our new bearings installed its time for the axle itself. The first thing we need to do is make sure that the hex nut on the axle is spaced off of the bearings. So take the three washers that were on the old axle and put them on your new axle as such before inserting it into the frame. Holding the axle with the longer side up slide the large washer followed by the two small spacer washers down until they are resting on the hex nut. Next insert the axle from the right side, sliding it through the bearings in the frame.
With the axle now inserted into the frame, we will start reattaching the wheels starting on the left rear side. Start by putting one lock washer onto the axle, followed by the wheel, then two of the small spacer washers, the spindle, and finally the acorn nut. Be sure not to overtighten the acorn nut as this can cause the bearings to pinch and lead to a catastrophic bearing failure. Before going forward spin the wheel, if you feel it grab as it spins or it is difficult to turn you have tightened the acorn nut too much and needed to back it off slightly before proceeding.
Now on to the right side! We’re almost there. The right side is a little more complex than the left but just take it slow, and we’ll get it done. Onto the hex nut part of the axle slide on the large washer with the hex-shaped hole in the center, followed by the brake drum. Next comes the flat washer followed by the lock washer then the wheel. From this point it is the same as the left side, follow the wheel with the remaining 2 small spacer washers, the spindle, and finally the acorn nut. Tightening this side down just like the other acorn nut.
You may need to adjust your brakes after changing the rear axle. Usually, your brakes with be fine, but if you notice a lack of grabbing power when you set the parking brake or the wheels drag at a certain point in their rotation you will need to fine-tune the brakes.
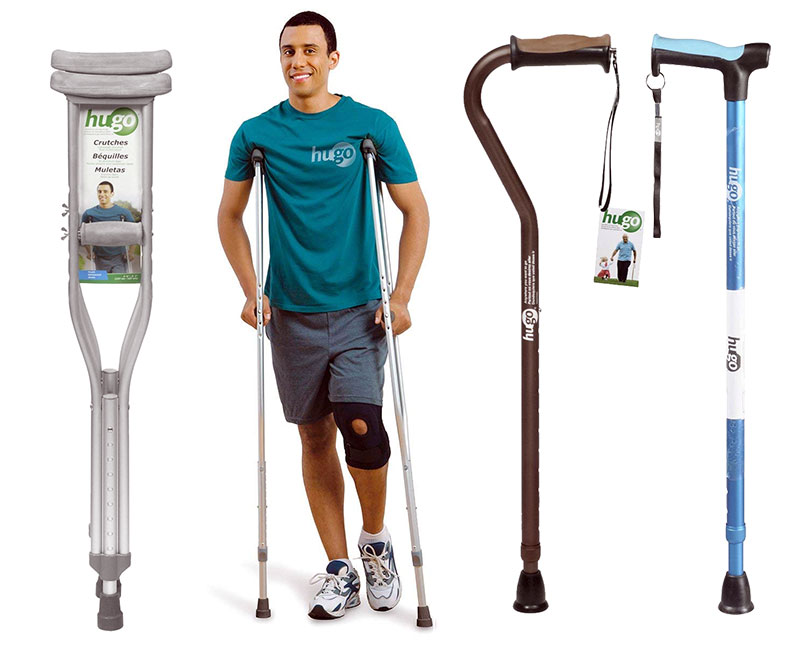 Hugo Lightweight Adjustable Aluminum Crutches