Table of Contents
Introduction
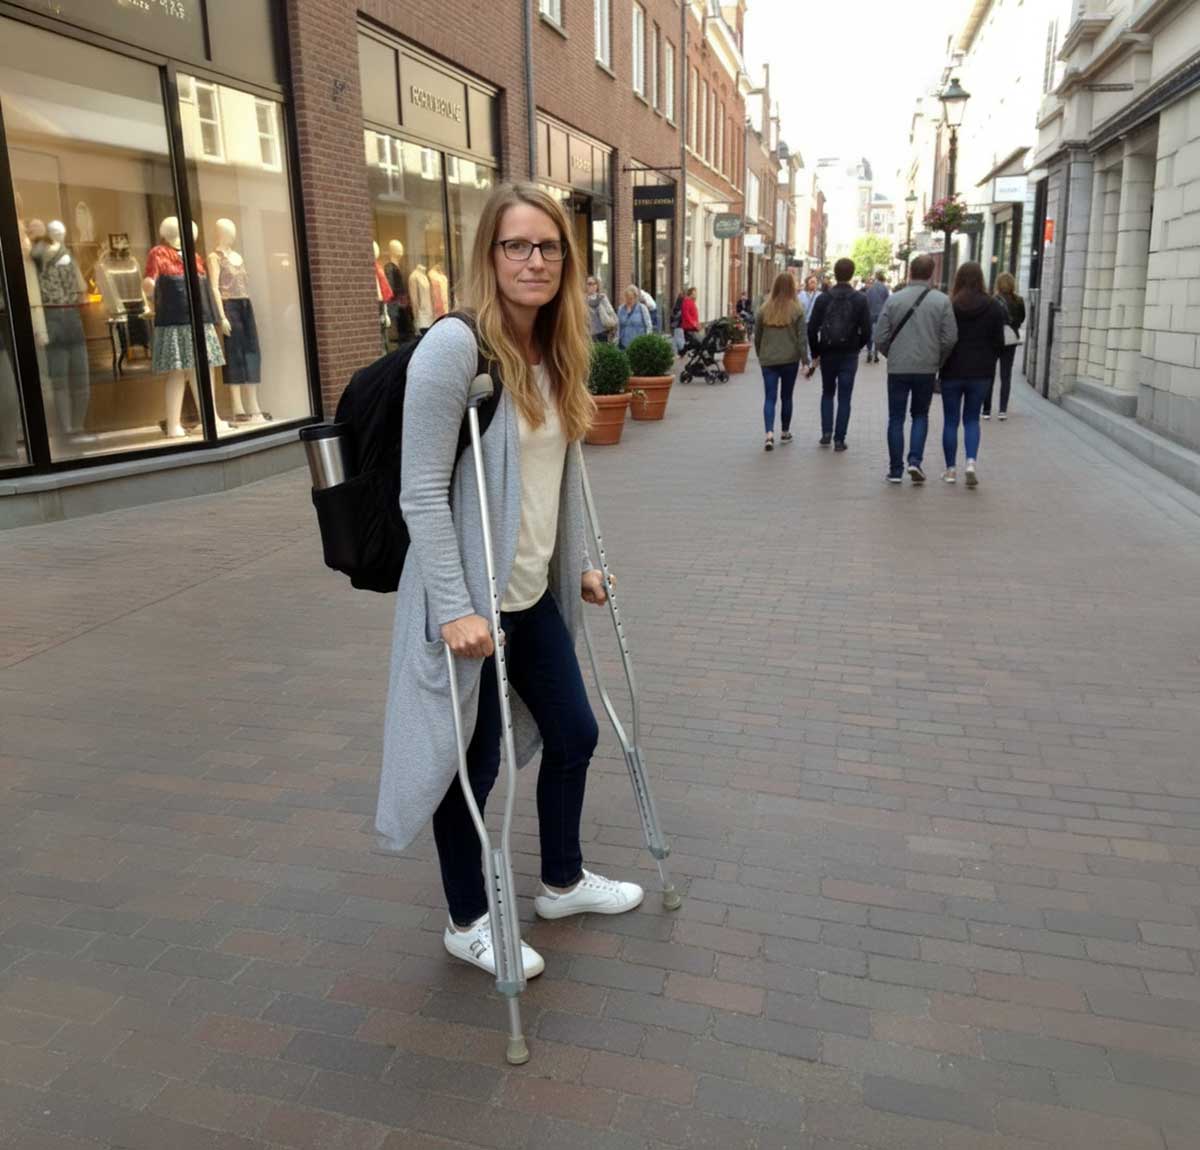
You're on crutches. Your hands are already busy keeping you upright, but real life still expects coffee runs, laptops for work, groceries, and packages. Figuring out how to carry things on crutches is less about superhero balance and more about smart setups that let you keep your hands on the grips.
I spent two weeks testing every bag, cup, and carrying method I could find. I spilled coffee on the kitchen floor—twice. I tried to balance a laptop in one hand while crutching with the other and realized halfway across a parking lot that it was a terrible idea. I hung a grocery bag from a crutch handle exactly once before it swung into my leg and nearly took me down.
This guide walks through what actually worked: hands-free bags that distribute weight safely, drink containers that don't slosh everywhere, and simple accessories that turn chaos into a manageable routine. You'll see setups for coffee runs, work commutes, grocery trips, and everyday hauling without turning each task into a high-wire act.
Key Takeaways
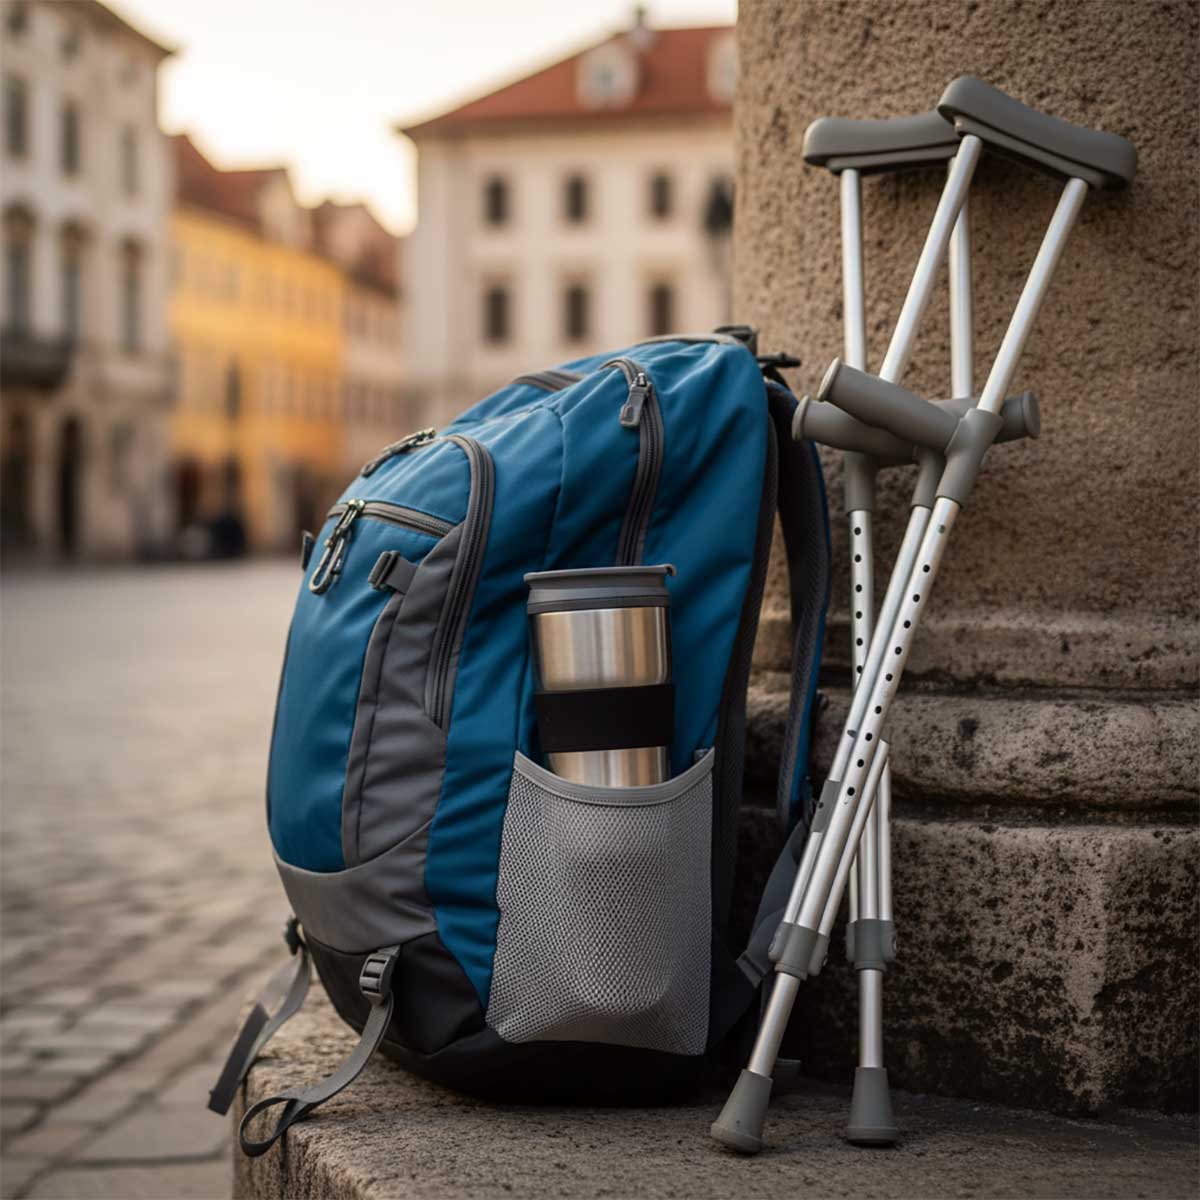
- Use both shoulders for weight: Two-shoulder backpacks keep laptops, notebooks, and travel mugs centered. Single-shoulder bags pull you sideways on slopes and stairs.
- Carry less per trip: Two or three light trips beat one overloaded stumble. Smaller loads mean better balance and less shoulder strain.
- Choose lidded containers: Screw-top travel mugs and bottles filled three-quarters full stop sloshing and slippery floors.
- Keep weight close to your body: Packs tightened against your back or waist stay stable. Swinging totes throw off your center of gravity.
- Test on flat ground first: Walk a hallway or living room with any new carry setup before taking it outdoors, on ramps, or onto wet tile.
How I Tested Ways to Carry Things
I tested carry routines in three locations: my apartment with tile floors, a campus-style office with long corridors and stairs, and a grocery store parking lot. Surfaces ranged from dry tile to freshly mopped floors, carpet, wet pavement, and curb cuts.
Loads included 16-ounce travel mugs, a 14-inch laptop with charger, notebooks, phones and keys, light groceries like bread and canned goods, and a stack of padded mailers. I used both underarm and forearm crutches to see how each handled extra weight.
Bags and accessories tested: daypack-style backpacks with laptop sleeves, slim crossbody bags, fanny packs, a collapsible rolling cart, and a clip-on cup holder meant for wheelchair armrests. I also tried hanging totes from crutch handles once (and never again).
I tracked spills, how often straps slipped, shoulder fatigue after 10 minutes, and how many trips it took to move the same load before and after changing systems. For groceries, I went from five trips to two once I switched to a backpack plus rolling cart combo.
No two houses or jobs look the same, but the trends were consistent: lighter loads, snug straps, and sealed containers made every scenario safer.
Ground Rules for Carrying on Crutches
Hands belong on the grips if you're moving. Anything you carry must ride in a bag, pocket, or container that stays put without a hand holding it.
Favor closed containers. Open cups spill the second you shift weight. Travel mugs with screw lids or bottles with flip caps are safer, and filling them three-quarters full gives liquids room to move.
Keep weight centered and tight. Backpacks with both straps, waist packs, and close-fitting crossbody bags keep weight glued to your torso. Swinging totes yank you sideways during every crutch swing.
Stop overloading one side. If you only have a shoulder bag, limit it to a couple pounds. Anything heavier belongs in a backpack or on a cart.
Practice in a safe zone. Walk laps in your living room or hallway with new carry gear to find strap adjustments, shifting weight, or lids you forgot to lock before facing stairs.
Safety Reminder
Extra weight changes how you handle stairs, ramps, and door thresholds. Slow down whenever your center of gravity feels different, especially if you're carrying a full backpack or rolling a cart.
Coffee and Drinks on Crutches
Best Drink Containers for Crutch Days
Open mugs failed every test. A ceramic mug made it eight feet before the first slosh, and by the time I reached the desk, there was coffee on the floor, my hand, and my shirt. Travel mugs with screw-on lids are the clear winner.
I tested a 16-ounce insulated tumbler, a 12-ounce mug with a flip-top spout, and a 20-ounce water bottle. The tumbler fit securely in most backpack side pockets, the flip-top was convenient but leaked when I forgot to click it shut, and the taller bottle was great for water but too top-heavy in shallow pockets.
Container shape matters. Shorter, wider tumblers are harder to tip, while tall bottles act like levers the second they catch on a doorway. Measure your bag pockets so bottles sit below the top edge instead of sticking out.
Where to Stash Drinks While You Move
Backpack side pockets are the easiest solution. Slide your lidded drink into the pocket, zip the main compartment, and your hands stay free. Crossbody bags with bottle sleeves also work for light loads like phone, keys, and a drink.
Dedicated cup holders exist for walkers, wheelchairs, and some knee scooters. The model I tested clipped onto a walker armrest and held a cup securely, but everything I tried on crutches interfered with my grip. If you occasionally use a walker or scooter, a clip-on holder is worth it.
Regardless of storage, don't fill cups to the brim. Leaving an inch of space prevents sloshing when you hit bumps or change speed.
Step-by-Step Coffee Routine
- Brew your drink in a travel mug with a lid.
- Fill it about three-quarters full and secure the seal.
- Put on your backpack or crossbody bag first so you are balanced.
- Slide the mug into a snug side pocket.
- Grab both crutches with hands on the grips and walk to your destination.
- Park your crutches safely, then remove the bag and drink.
During week one I tried holding a mug while crutching, tucking one crutch under my arm. A tiny slope sent hot tea over my hand and across the hallway. Switching to a $12 travel mug plus backpack pocket solved the problem immediately.
Pro Tip
Let hot drinks sit for two minutes before screwing the lid on. Steam can build pressure and force liquid out the second your mug bumps into a door frame.
Carrying Laptops, Books, and Work Bags
Backpacks Beat Single-Shoulder Bags
A messenger bag with a 13-inch laptop, charger, and notebook yanked my left shoulder down and trashed my balance on ramps. Swapping to a 15-liter backpack with the same gear felt stable and centered.
Tighten shoulder straps so the pack sits between your shoulder blades. If it hangs near your hips, every crutch swing will pull you backward. Smaller daypacks (15–20 liters) are ideal for laptop + charger + lunch without tempting you to overload.
When Crossbody Bags Work
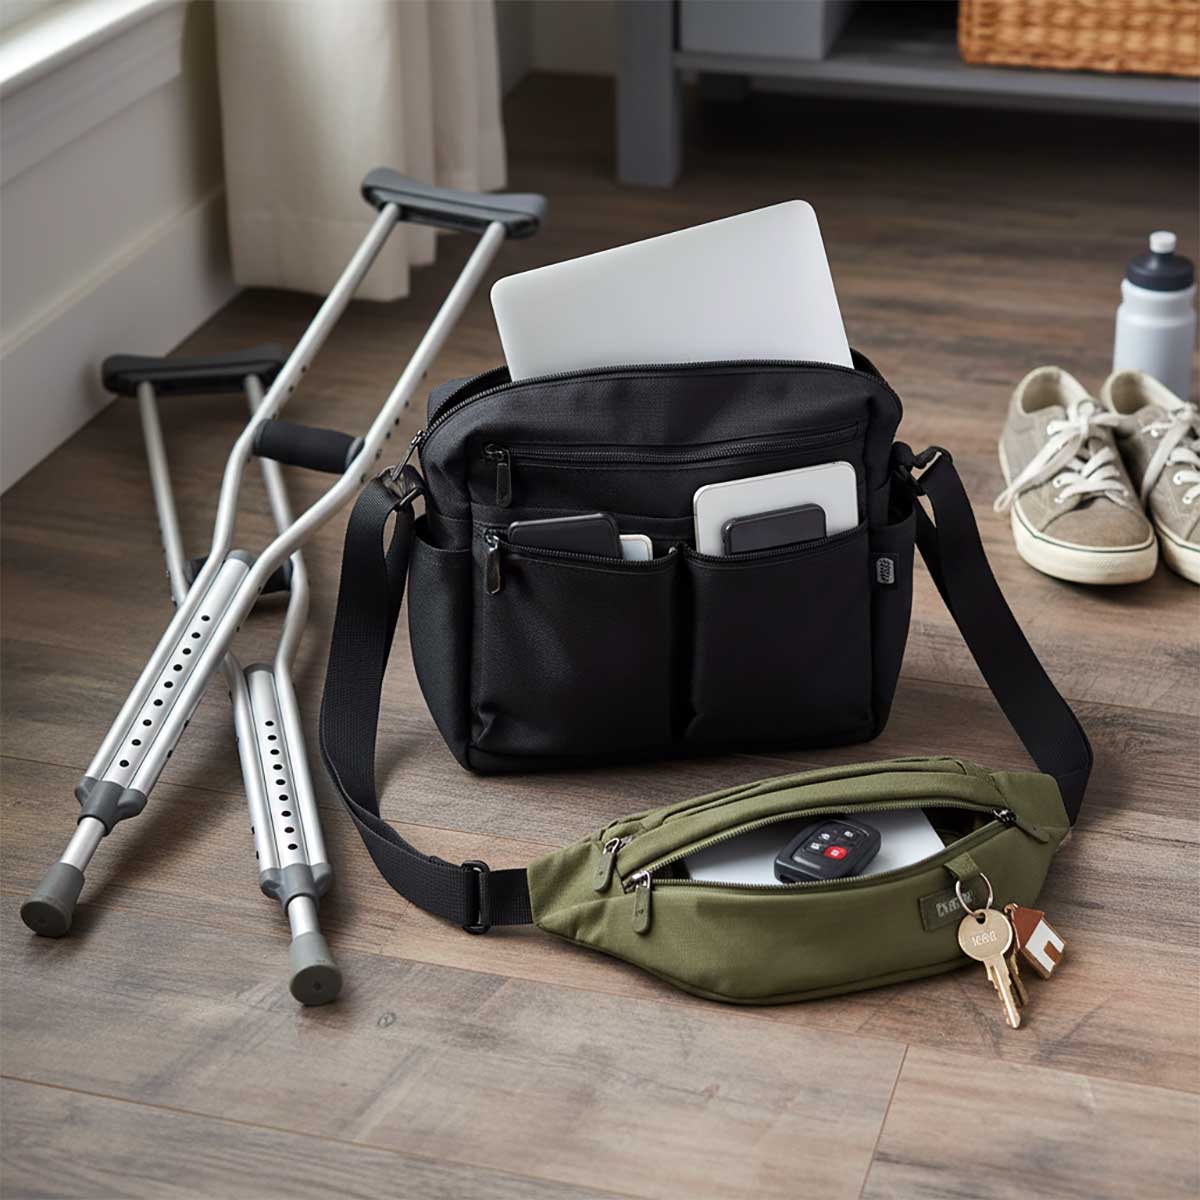
Crossbody bags shine for loads under three pounds: tablet, wallet, snacks, and maybe a slim notebook. Heavy laptops in a crossbody pulled me sideways on stairs and made me grab the strap with one hand, which defeats keeping hands on the grips.
Keep crossbody straps short so the bag rests against your torso instead of flopping near your hip. If you feel it swinging, remove a few items or switch to a backpack.
Packing Smarter, Not Heavier
Limit laptop setups to essentials: computer, charger, and one notebook. Shoulder fatigue showed up fast once my pack crept past 10 pounds. When I ditched the lunch container and water bottle, my shoulders thanked me.
If you regularly carry more than 10 pounds across campus or through an airport, talk with your care team about using a knee scooter or wheelchair for those longer hauls.
Reality Check
I tried looping a tote bag with textbooks over a crutch handle. It lasted 20 seconds before the bag smacked my shin and tangled with the grip. Don't hang bags from crutches—it's unstable and dangerous.
Groceries, Meals, and Small Loads at Home
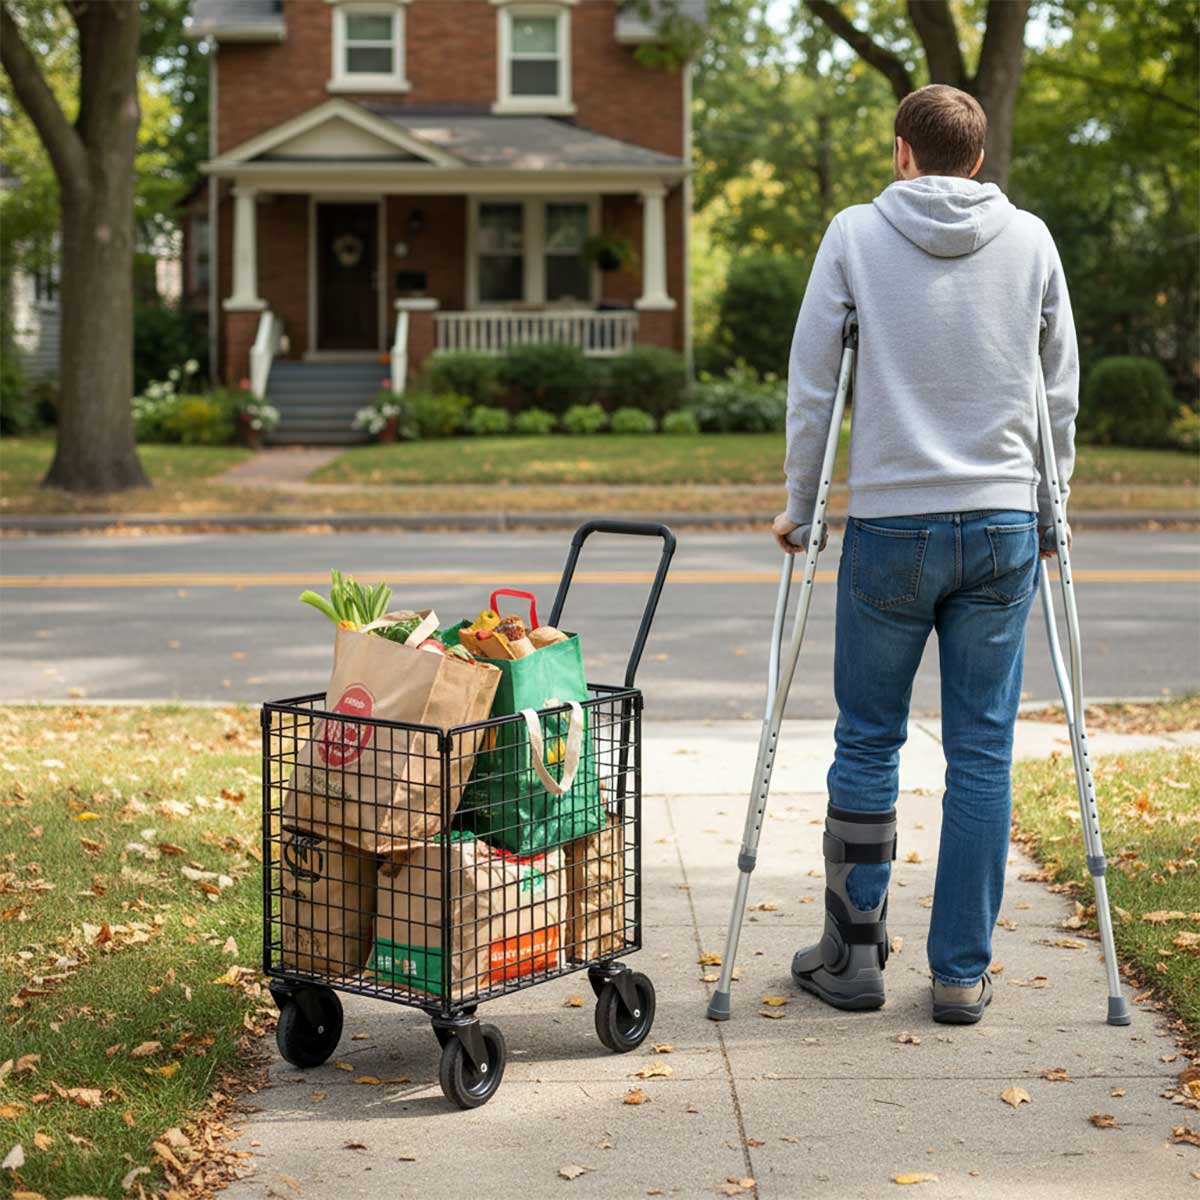
Groceries are awkward because everything is a different shape. A small backpack handled bread, pasta, three cans of soup, and apples without drama. For larger hauls I paired the backpack with a collapsible rolling cart.
I pulled the cart with one hand while keeping the other hand on a crutch. It only works on flat, dry surfaces like stores, hallways, or smooth sidewalks—never on stairs or loose gravel.
At home, I stopped carrying plates entirely. I slid meals along counters or staged TV trays near the couch so the food only moved a few feet. The rolling cart also doubled as a mobile drop zone for mail and packages.
Before loading any cart, walk the route empty. Wet tile or cluttered hallways turn carts into hazards fast.
Pro Tip
Ask grocery stores about curbside pickup or delivery. Let someone else haul the heavy bags to your trunk or door so you only manage the short, light trips inside.
When to Switch Devices
If you're logging long indoor miles with a heavy backpack, a knee scooter or wheelchair might be safer than crutches. Scooters let you park weight on the platform or in a basket so your shoulders aren't doing all the work.
I tried a knee scooter for a day with a nine-pound backpack. Scooting across a long hallway was dramatically easier than crutching the same distance, and my shoulders weren't wrecked afterward.
Wheelchairs free up both hands completely. You can rest a bag on your lap or hang it on the back, and cup holders make drinks easy. Power chairs make hauling even simpler because you're not pushing.
Always ask your healthcare provider before switching devices. Some injuries don't allow scooter use, and weight-bearing rules vary.
For more device comparisons, see our best knee scooter reviews and crutch alternatives guide.
Watch a Carry Setup in Action
This demo shows a front-carry backpack, how to keep crutches clear of the straps, and the pacing needed for stairs with extra weight.
Video highlights: front-loaded backpacks keep items in view, keeping both hands on the grips is non-negotiable, stair travel slows down with weight, and pausing to reset straps is better than pushing through wobble. This is not personalized medical advice—always follow your provider's limits.
Carry Setup Comparisons
| Situation | Recommended Setup | Bag Type | Drink Plan | Main Benefit | Key Caution |
|---|---|---|---|---|---|
| Campus or office commute | Backpack with laptop sleeve and bottle pocket | Two-shoulder backpack (15–20L) | 16 oz travel mug in side pocket | Weight stays centered, hands free | Keep load under 10 lbs to avoid shoulder fatigue |
| Quick errands | Crossbody bag for essentials | Compact crossbody | 12 oz bottle tucked inside | Fast access without removing bag | Don't exceed 3 lbs or the strap pulls you sideways |
| Light grocery run | Small backpack plus rolling cart | 15L pack or foldable cart | Skip drinks, focus on bags | Carry multiple items without using hands | Cart only on smooth surfaces |
| Around the house | Fanny pack and counter sliding | Waist pack | Leave drinks at destination | Small items stay close to your body | Don't overpack or it digs into your core |
| All-day heavy load | Knee scooter or wheelchair | Scooter basket or chair bag | Cup holder on device | Less arm strain over long distances | Requires provider approval to switch devices |
| Bag Type | Best Use | What It Fits | When to Avoid |
|---|---|---|---|
| Backpack (two-shoulder) | Daily work or class carry | Laptop, charger, lunch, water bottle (up to ~10 lbs) | If you need quick access without removing the bag |
| Crossbody bag | Errands and short trips | Phone, wallet, tablet, snacks (under 3 lbs) | Heavy laptops or multiple books |
| Fanny pack | Hands-free storage at home or office | Phone, keys, meds, earbuds | Bulky bottles or notebooks |
| Rolling cart | Groceries, laundry, packages | Multiple bags up to 30–40 lbs | Stairs, curbs, rough or wet terrain |
Accessories That Make Carrying Easier
You don't need expensive gear, but a few strategic accessories turn chaotic carry days into predictable routines.
Backpacks and sleeves: $20–$50 daypacks with padded laptop sleeves keep electronics hugged against your spine. Make sure the straps adjust short enough to keep the load high.
Crossbody bags and waist packs: $15–$40 options with adjustable straps secure phones, IDs, and snacks without swinging. Tighten them until you can jump (carefully) without the bag bouncing.
Cup holders: Clip-on cup holders ($15–$30) shine on walkers, scooters, or wheelchairs. They rarely fit crutches, but they're perfect if you switch devices part-time.
Rolling carts: Foldable carts ($20–$60) handle groceries, laundry, or mail. Stick to dry, flat surfaces and test empty first.
Traction add-ons: If you're hauling items on slick sidewalks, pair non-slip crutch tips with the gear from our winter accessories guide.
Upgraded crutches: Ergonomic options like Mobilegs distribute weight better when you're carrying a backpack daily. Wondering if premium gear is worth it? Read our take on high-end crutches.
Pro Tip
Load any new bag with water bottles before buying. Walk the store aisle or your hallway. If the straps dig in or the bag bounces, keep shopping.
Common Carry Mistakes to Avoid
- Carrying open cups or plates. Bowls of cereal or uncovered coffee spill with every hop. Use lids or move food with trays and carts.
- Overloading one shoulder. Ten-pound messenger bags pull you sideways on ramps. Switch to a backpack or split the load.
- Hanging bags from crutch handles. They swing into your leg, tangle with the grip, and can topple you.
- Forgetting weight changes stairs. A backpack shifts your center of gravity backward on descent. Slow down and take smaller steps.
- Skipping test runs. Walk laps at home with new bags before navigating crowds, rain, or elevators.
What Actually Happened
Another day I tried to hook two grocery bags over my crutch handle so I could go up a short flight of stairs in one trip. Halfway up, the bags slid toward the tip, yanked the crutch sideways, and I barely caught myself on the railing. The groceries hit the stairs, and I learned to make two lighter trips instead.
Carry Fast Checks on Crutches
Before You Move
- Lids on every drink—no open cups.
- Straps tightened so bags or packs stay close to your torso.
- Hands available for the grips the entire time you're moving.
- No bags or totes hanging from crutch handles.
- Test any new setup on flat ground before adding stairs, ramps, or rain.
Run this checklist before any commute, errand, or kitchen sprint. Two minutes of prep prevents most spills and close calls.
FAQ: Carrying Things on Crutches
Use a travel mug with a screw-top or flip lid and tuck it into a backpack or crossbody pocket. Fill it three-quarters full so liquid has room to move. Test your setup on flat ground before you attempt stairs or slick sidewalks.
Yes. Two-shoulder backpacks balance weight evenly. Keep loads under about 10 pounds, tighten straps so the bag sits high on your back, and practice walking with it indoors before heading outside.
Use a backpack with a padded sleeve that holds the laptop against your spine. Pack only the laptop, charger, and one notebook if possible. Messenger bags pull you sideways, especially on ramps.
Pack light items in a backpack and use a rolling cart or delivery service for heavy loads. Make multiple trips rather than hauling everything at once, and never hang grocery bags from your crutch handles.
If long distances with heavy bags are unavoidable, a knee scooter or wheelchair may be safer because weight rides on the device instead of your shoulders. Always get medical clearance before switching.
Final Thoughts
Learning how to carry things on crutches isn't about perfection. It's about setting up containers, bags, and routines that let you keep both hands on the grips while still living your life.
Start with one upgrade: switch to a lidded travel mug, tighten your backpack straps, or stage a rolling cart near the door. Test that change on a short, safe route. Once it works, layer in the next tweak.
Your hands need to stay on your crutches. Everything else is a puzzle you can solve with the right bag, container, or accessory. Set up your carry system for the next work day or grocery run and give it a low-stakes rehearsal first.
Ready to Build Your Carry System?
Pick one bag setup and one drink container to test this week. Start with your most common carry task and build from there.
Explore More How-To Guides